
Light backpackers and hikers are often obsessive over their pack weight and often run into problems when trying to decide what to do about shelter.
While building shelters from natural materials is always an option, there are going to be times when the appropriate building materials to construct a shelter might be scarce. If this happens, not having a tent can turn into a real problem, especially during nasty weather. If the weather turns bad, you want a quick and easy way to construct an emergency shelter.
This is where a good Tarp comes into play.
When it comes to camping and survival, a tarp is one of the most versatile tools that you can have in your arsenal of gear. Tarps are lightweight, easy-to-carry, and durable. They can be used to create a variety of different shelters for different weather environments and conditions.
A quality camping tarp is both lighter and cheaper than even the lightest of tents. In my opinion, tarps have a number of advantages that make them a much more attractive option to a light backpacker.
Why Tarp Shelters make a good shelter for camping, hiking, and survival
There are several reasons why we keep tarps as part of our gear collection:
Protection from elements
Tarp shelters protect from various weather conditions and are one of the cheapest options on the market. When camping, a tarp shelter can protect you from these elements, keeping you dry and warm.
Tarps are also great in the rain! No one wants the hassle of setting up a tent in a rainstorm and building a waterproof shelter out of natural materials can take hours. A good tarp can be put up in less than 60 seconds and will help keep you dry until the rain stops.
Versatility
Tarp shelters are versatile and can be used in dozens of different ways. With a small amount of paracord and a tarp, you can quickly set up an improvised shelter that will keep you dry and warm with a small reflected fire. Tarps are a great backup plan for when you can’t find natural materials to build a shelter with.
Lightweight
Tarp shelters are lightweight, making them easy to carry in a backpack when camping or bugging out. A tarp is far lighter than almost any other type of backpacking shelter.
Cost-effective
Tarp shelters are cost-effective when compared to tents or other shelters that can cost hundreds of dollars. A tarp is about as affordable as it gets and can be used for multiple purposes. And if you want to get a little fancy, combined with a hammock, they make a great outdoor shelter.
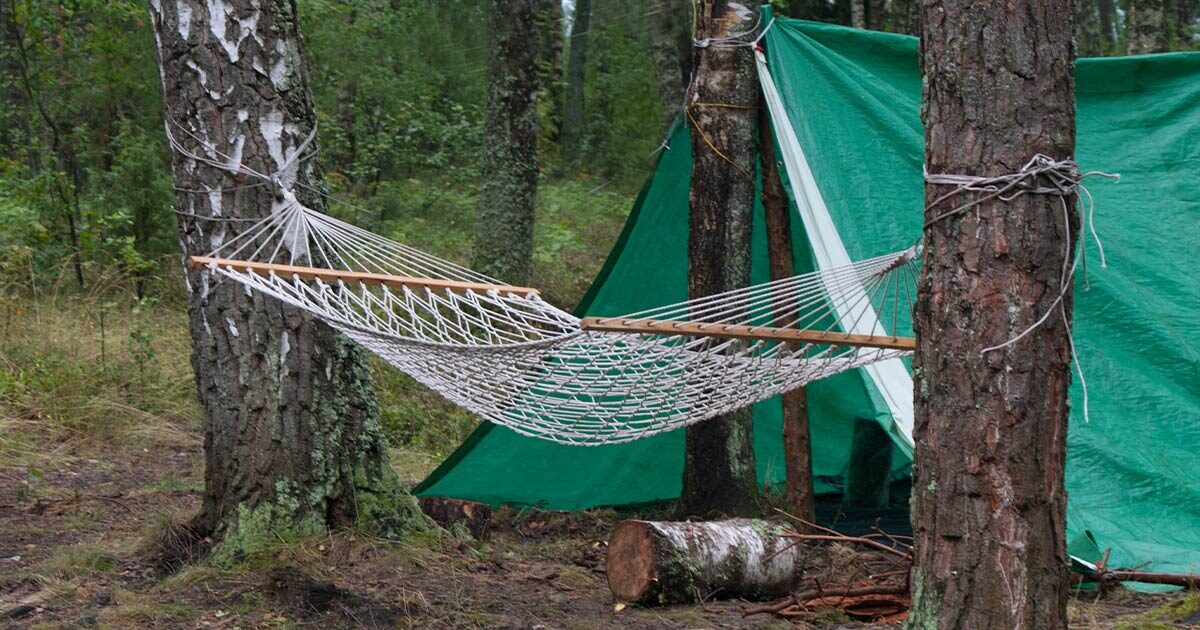
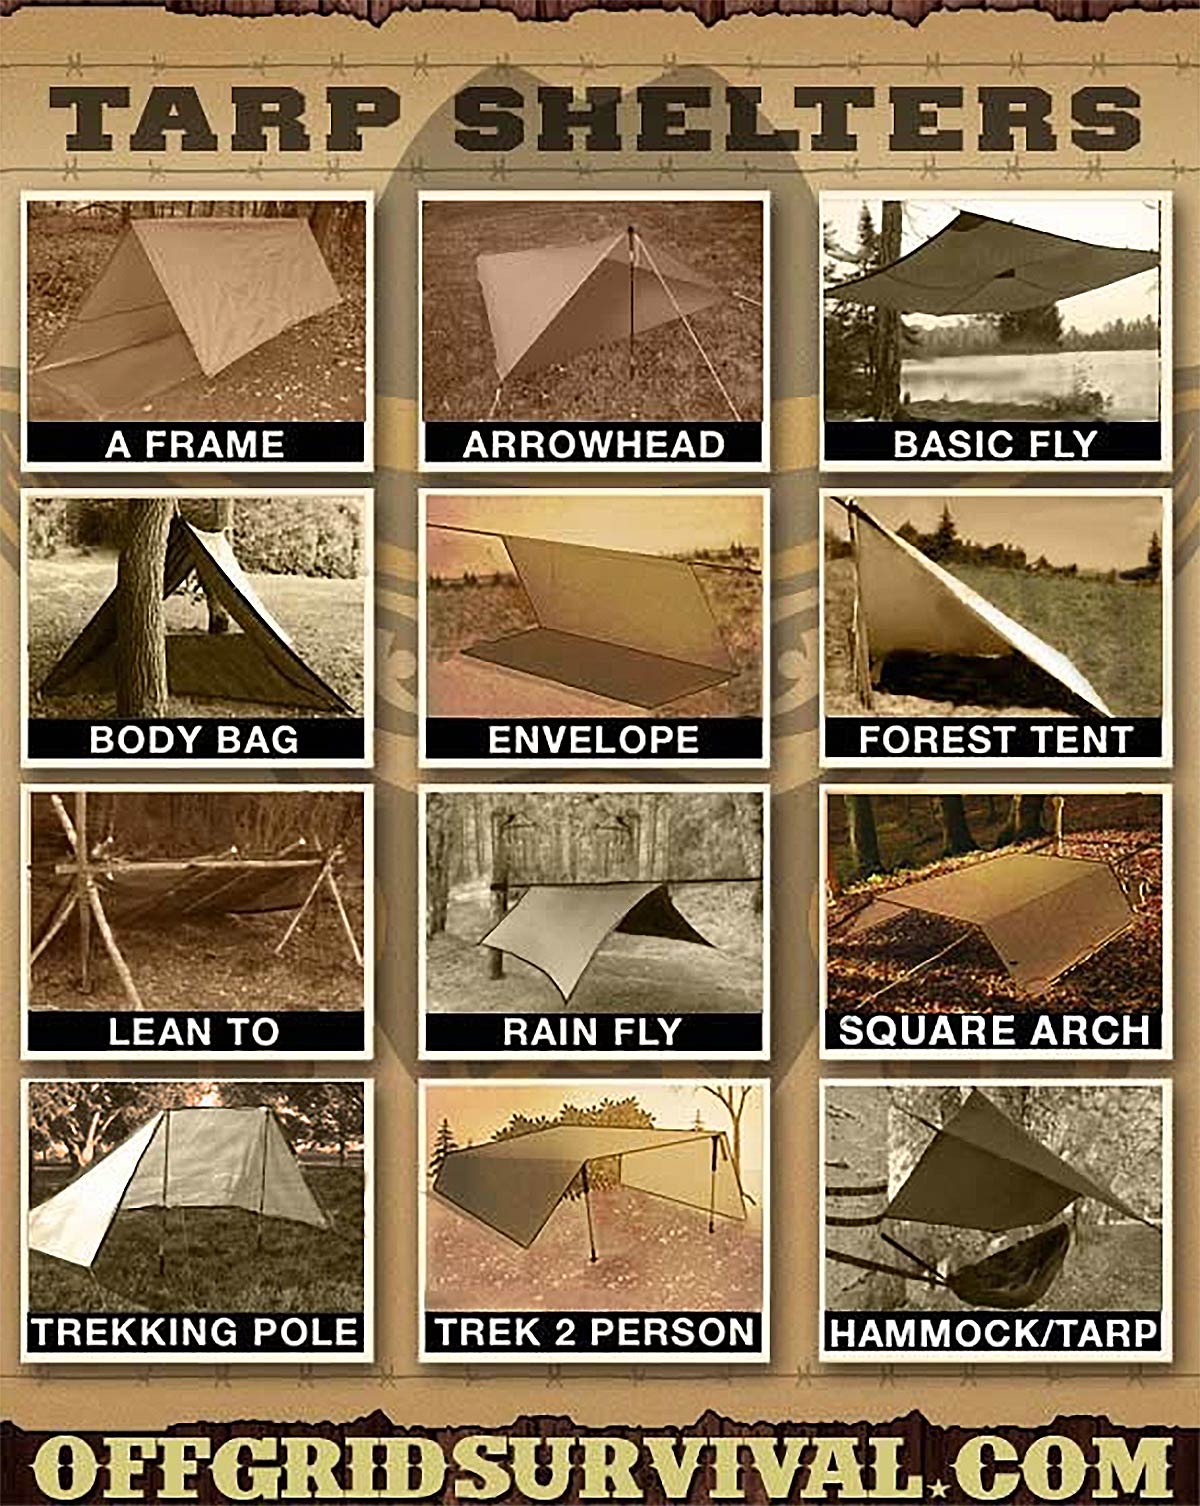
Types of Tarp Shelters
A-Frame Tarp Shelter
An A-frame tarp shelter is easy to set up and protects from rain and wind. It is created by attaching the tarp to a rope tied between two trees. The tarp is then stretched out to form an A shape, and the sides are anchored down using stakes or heavy rocks. This shelter provides ample coverage for sleeping and storing gear.
Lean-To Tarp Shelter
A lean-to tarp shelter is ideal for windy conditions. It is created by attaching one end of the tarp to a tree, and the other end to a support pole, creating a slanted structure. The tarp is then anchored to the ground using stakes or heavy rocks. This shelter is ideal for sleeping and can be customized to fit your needs.
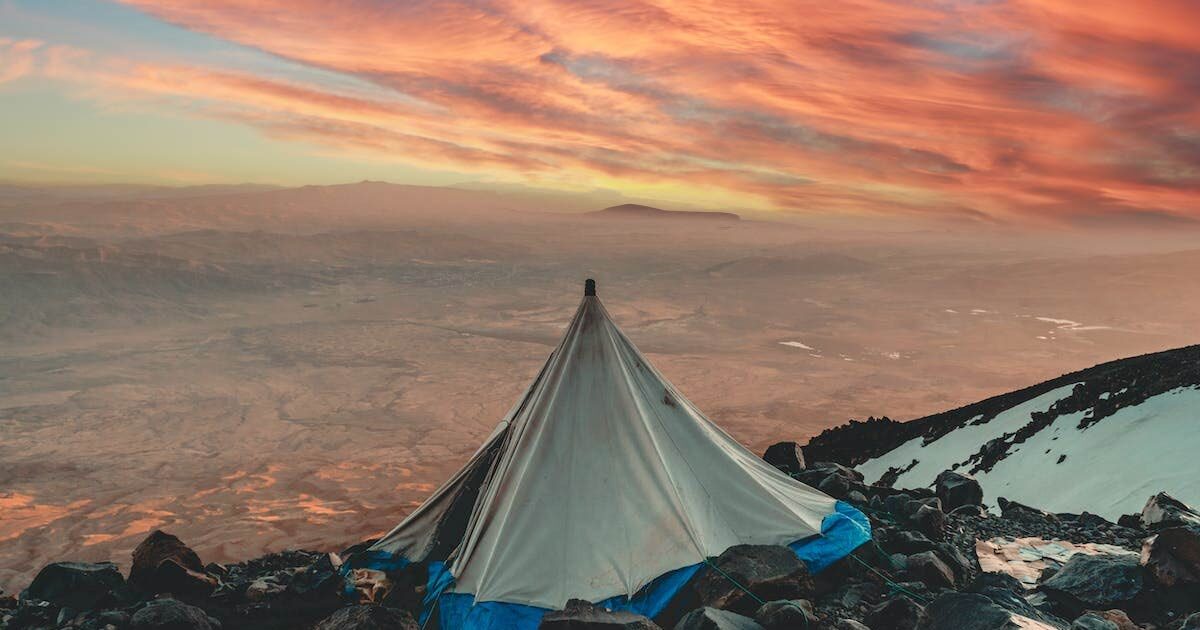
Teepee Tarp Shelter
A teepee tarp shelter is a simple and effective shelter that can be used in various weather conditions. It is created by tying the tarp’s corners to a rope or cord and raising it to form a teepee shape. The tarp is secured to the ground using stakes or heavy rocks. This shelter provides ample coverage and can be used for sleeping or cooking.
Four-Point Tarp Shelter
A four-point tarp shelter is versatile and can be used in different conditions. It is created by tying the tarp’s corners to four trees, then tightening the corners to form a stable structure. Finally, the tarp is anchored to the ground using stakes or heavy rocks. This shelter is ideal for sleeping, cooking, or storing gear.
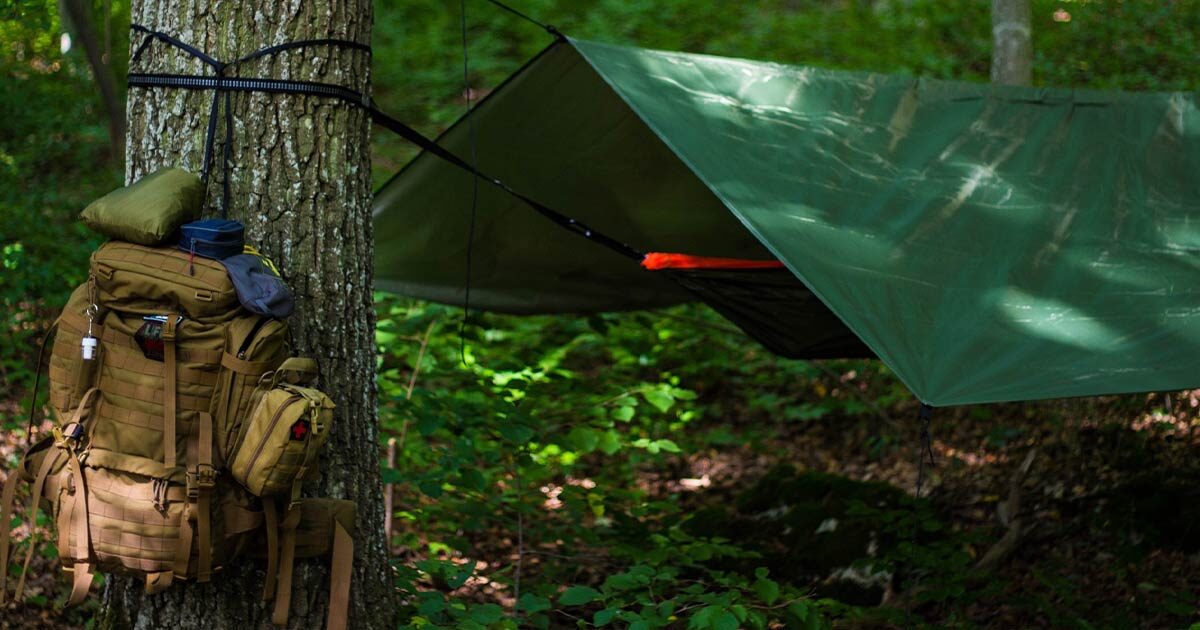
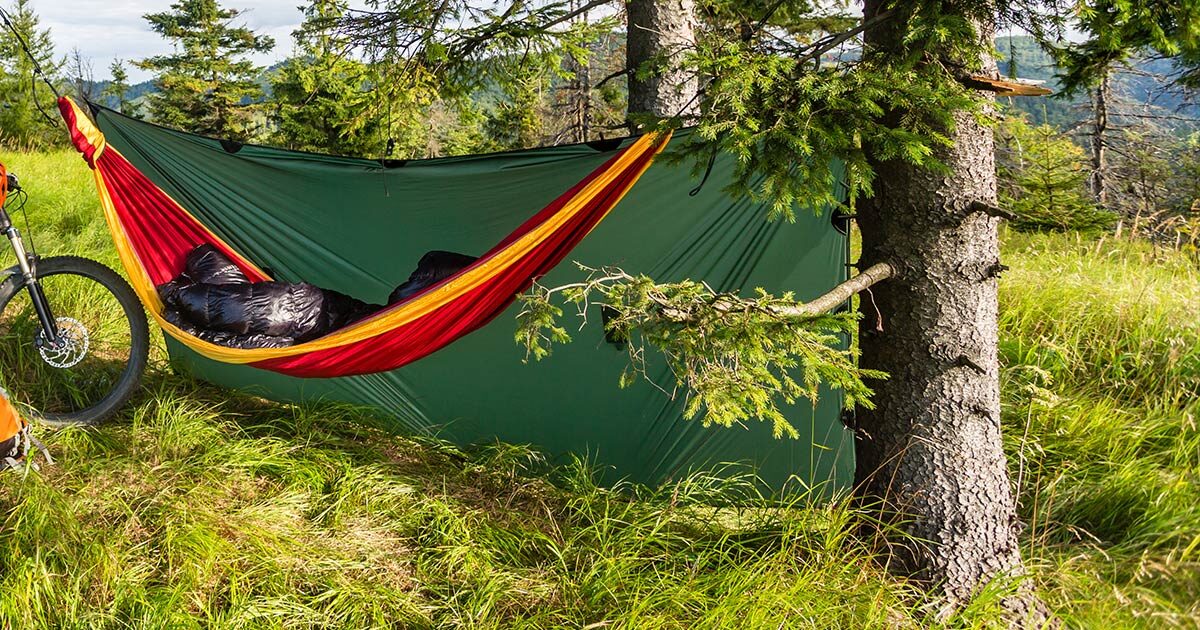
Hammock Tarp Shelter
A hammock tarp shelter is ideal for those who prefer to sleep in a hammock. It is created by attaching the tarp to the hammock, creating a canopy that provides protection from rain and wind. This shelter is ideal for sleeping and can be customized to fit your needs.
With a small amount of paracord and a tarp, you can quickly set up an improvised shelter that will keep you dry and warm with a small reflected fire.
Tarp Shelter Configurations


When hiking in the past we would often use cheap clear plastic to make our shelter. The same piece could be used many times and if it started to get worn we would just cut another from one of those big rolls. At well under 20 bucks a roll (if I recall correctly) that is a lot of shelter.
In the Army I have been using a poncho in the same capacity.
A tarp with grommet holes could be used many times until it eventually wore out. I’ve got one in the closet at home and keep a spare in the car.
I alternate between a hammock/tarp setup in the summer and a ultralight tarp in the winter.
I’ve got a snazzy 5oz. Cuben fiber tarp that’s been fantastic!
I use a canvas tarp, its not as lightweight as the high tech ones but it is really tough and sturdy. One thing I’ve found is that it is better to keep it low to the ground. Pitching them up high like in the pictures is nice for a dining fly type of thing, but it gets mighty wet and cold when the wind and rain are blowing in on you underneath the tarp.
I love traveling really light, so I normally settle for shelters like caves or while hitchhiking, a bridge.
A hammock-tarp combination sounds great though.
Thanks for the suggestions Robert +_+
When I lived up in Alaska my bob had a light weight one man tent and I also carried a 10×10 light weight tarp and a mosquito shelter. In the summer I would just use the tarp and the mosquito shelter in the winter down to -70 F I would use the tent with its rain fly build a small brush wall around it to block the wind then hang the tarp over all of it. Some nights were colder then others but I survived. I still carry the same stuff down in the desert in my bob, (20 yrs newer) cause if TSHTF i’m heading north to some cooler place.
That hammock will suck when it rains.. The water will travel down the suspension ropes and you’ll get a wet ass no matter what kind of tarp you use. But the light tarps are great for shelter. Cheap as hell too at Harbor Freight stores.
Tie a piece of rope at the edge where the suspension rope starts under the tarp. The water will hit the rope and them run down the rope without hardly any going under the tarp.
Bow string wax 12 before the tarp and tie two drip lines one before the wax one just before you tarp.the one before you tarp make it long and stake it to the ground.then the water will follow it to the stake.
I’ve been looking into a tarp/hammock setup for awhile. I’m a smaller frame guy, so the lighter weight would help. I remember seeing a vid of Ray putting up a tarp/hammock/net shelter. I’m not sure if it was that vid or another, but somewhere I saw where the person had tied off a thick piece of cloth (bandana or similar) near where the hammock starts. Any runoff from the strap would get caught in the fabric, and drip off to the ground. The tarp covered the hammock, so that piece of fabric was only there to wick away drips that would otherwise soak the hammock. Just an idea.
The Hennessy-Hammock system with its built in netting is good for a single person; quick to set up, no need for level ground or pruning the ground for stick or rocks, etc., and the tarp cover is integrated into the system.
The biggest problem I have found with a hammock is during colder weather the air flow underneath tends to freeze your butt, even when set up low.
I usually carry a 10×10 sil-nylon tarp and a single person backpacking tent if there will be bugs to deal with. I can drop the tent too by using the Epic bivy sack with a mosquito head-net.
Most of my camping is car/pop-camper style. Even with the extensible canopy attached to the camper another is needed for the pic-nic table. I have found the Kelty tarps excellent for the task. The Kelty truly enters its element on the trail where its many loops can find attachments.
Some advice as to the Kelty. Use heavier rope for the ridgeline external loops. Parachute cord is light and strong, it stretches though and I recommend heavier rope that does not stretch for the ridgeline. Bring lots of parachute cord. Sometimes you have to stretch the cord 50 feet for just one hold-down. I prefer the color bright yellow to avoid it in the dark. When facing a storm or rain you want this thing as low to the ground as possible. Adjusting the tarp. The Kelty is almost infinately adjustable. When the weather is good and sunny adjust the tarp up to provide shade and ventalation. when the weather is poor drop the tarp to the lowest position to keep wind driven rain out.
Maintain your situational awareness of the weather and always honor the threat. Be prepared that that the cords and rope needed to make this tarp work is probably going to weigh more than the tarp itself. While high quality the tarp is light weight and not immune to damage. If you are aware of its limitations and learn to use its amazing adaptibilty, you will find yourself a comfortable and lightweight shelter.
Best regards…
Something else that can be used is two military ponchos. In survival school we would snap them together (two snapped together to make a single cover) and it would provide enough space for two people.
From there we gathered various branches to make a “bed” and put our foam mat over the branches followed by the sleeping bag. And when we weren’t set up for the night the sleeping bag and mat (along with some 550 cord) was our backpack. Now the sleeping bags were a bit more heavy duty than most (thick cloth instead of nylon or some other easily rippable outer material), but the setup worked surpisingly well and kept the weight down.
You guys are stealing other people’s work. I know for a fact the Rainfly photo was stolen from Arizona Bushman. I’ve seen the original photo. And the poster prior to your hack attempt to cover it up. I’ve been using photoshop professionally for 15 years in the VFX industry and I can see when you’ve copied and reversed a section of the trees then run a filter over it. It is still stealing. It’s lazy, and shameful.
In fact, because you’ve acted so poorly in response to my friend John. I’m going to find where everyone of these images came from and notify their respective owners.
mikhail, how did that go for you? you didn’t have anything better to do with your time? Did you do what you said you were going to, or are you just all talk?
One of my photos, the last time I searched it on Google Photos, was being used on 354 other articles – I’m not upset – I think it’s cool.
Mikhail sounds like a Russian spy sent here to hamper any prepper who might benefit from the information! LOL I have a tarp, BUT I also have a heavy duty poncho from the Swiss that’s about 2x the thickness of the one I had in the Army. And a lot larger…
Great article – the first and most important thing to do if stranded is to get shelter from the elements (heat, cold, storms, etc.) and then worry about fire, water, and food. We keep 3 different size tarps in our gear at all times and in the truck O’shit supplies.